

This is our new vanity...coudn't get much smaller, eh? We actually had to return the original "new" one that we bought. At 24", it was way too big :( The entire bathroom measures just under 4'x4'.
So Mr. Bugger installed this clean (yet boring-looking) vanity, to replace our slightly un-even, organizationally-challenged, dingy, pedestal sink (kicking myself for not taking 'before' photos of the sink - we were just so excited to have it gone!). Even though it's small, it offers up that little extra storage underneath which will allow for *most* of the clutter in this tiny bathroom to be hidden out of sight.
Also, if you look at this cabinet, it is made to open from the right. Well, we need it to open from the left because of the door and size of the bathroom. But there is no option to change it. It comes the way it comes, which of course we didn't notice until AFTER is was cut to fit the piping. The vanity comes with the hole already drilled for the knob. Because of that, to change the door to open the other way, the hole for the know is in the wrong spot. If you look closely in this photo...there it is waaaaaaaaay down at the bottom on the left. *sigh*
What to do, what to do??

This was my solution.
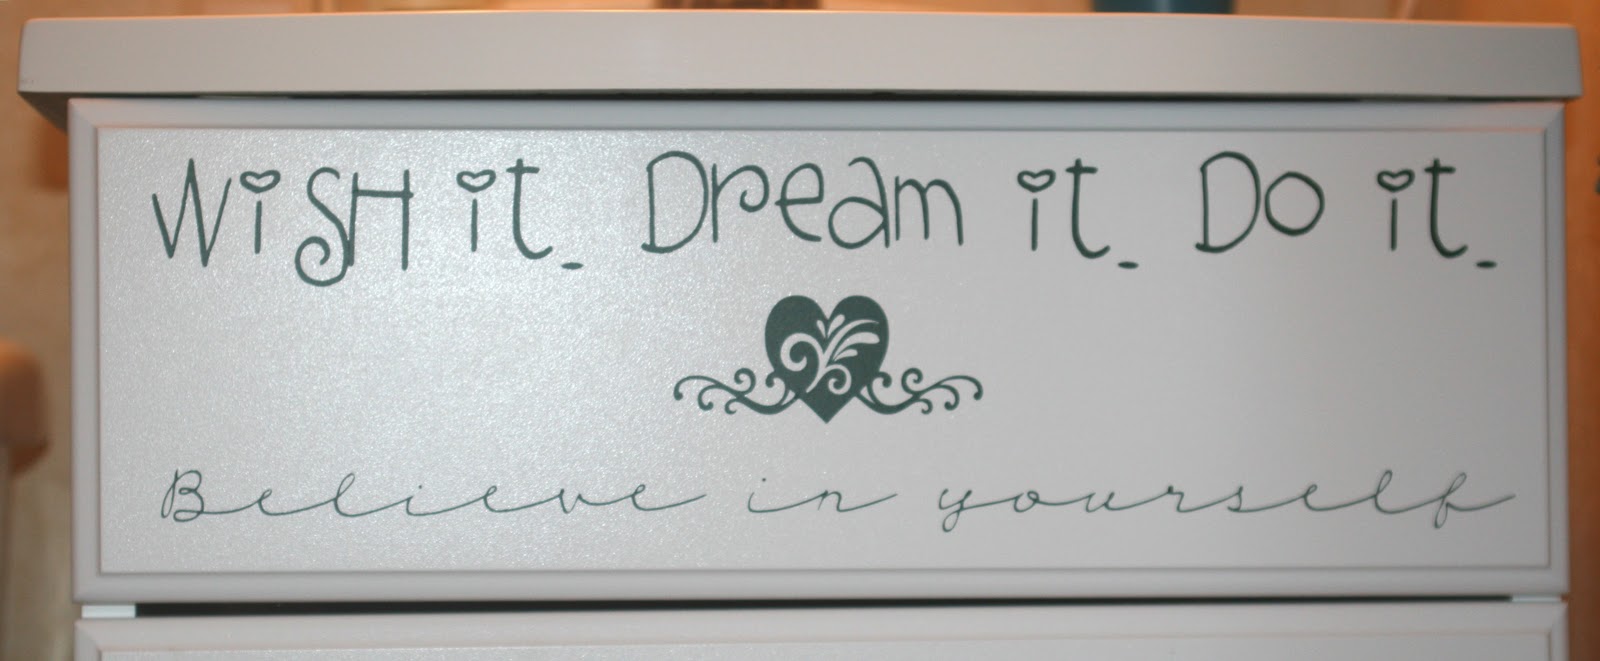
I cut some vinyl on my Cricut to bling up my cabinet a bit. "Wish it. Dream it. Do it." is cut using SCAL and the EK Fairy font. "Believe in yourself" is cut using SCAL and the CK Cursive font. The two heart flourish images are from the Straight From the Nest Cricut cartridge (one cut at 1.5" and one cut at 2") and the two corner flourishes are from the French Manor Cricut Circle cartridge cut @ 2".
I filled the pre-drilled hole with hot glue, just even to the surface, lightly sanded the top with the end of my nail file and placed the flourish image right over the hole.
Not an entire bathroom make-over, but definitely enough oomphf to get us by for awhile!
Happy buggin'!

No comments:
Post a Comment